
Let’s be honest – open shelving is having a serious moment right now, and it’s not hard to see why. Unlike closed cabinetry that hides everything away, open shelves invite you to turn everyday objects into part of your home’s visual story. But here’s the challenge we all face: how do you create something that looks amazing on Instagram while still working for, you know, actual real life?
I’ve spent years obsessing over this balance (my partner would say way too much time), and I’m here to share everything I’ve learned about creating shelfies that are both gorgeous AND practical. Because let’s face it – those perfectly styled shelves you see online often sacrifice function for aesthetics. And who wants to dismantle an entire display just to grab the pasta strainer?
First Things First: Know Your Shelf’s True Purpose
Before you start arranging a single thing, ask yourself: what’s this shelf actually FOR? Because different spaces have totally different needs:
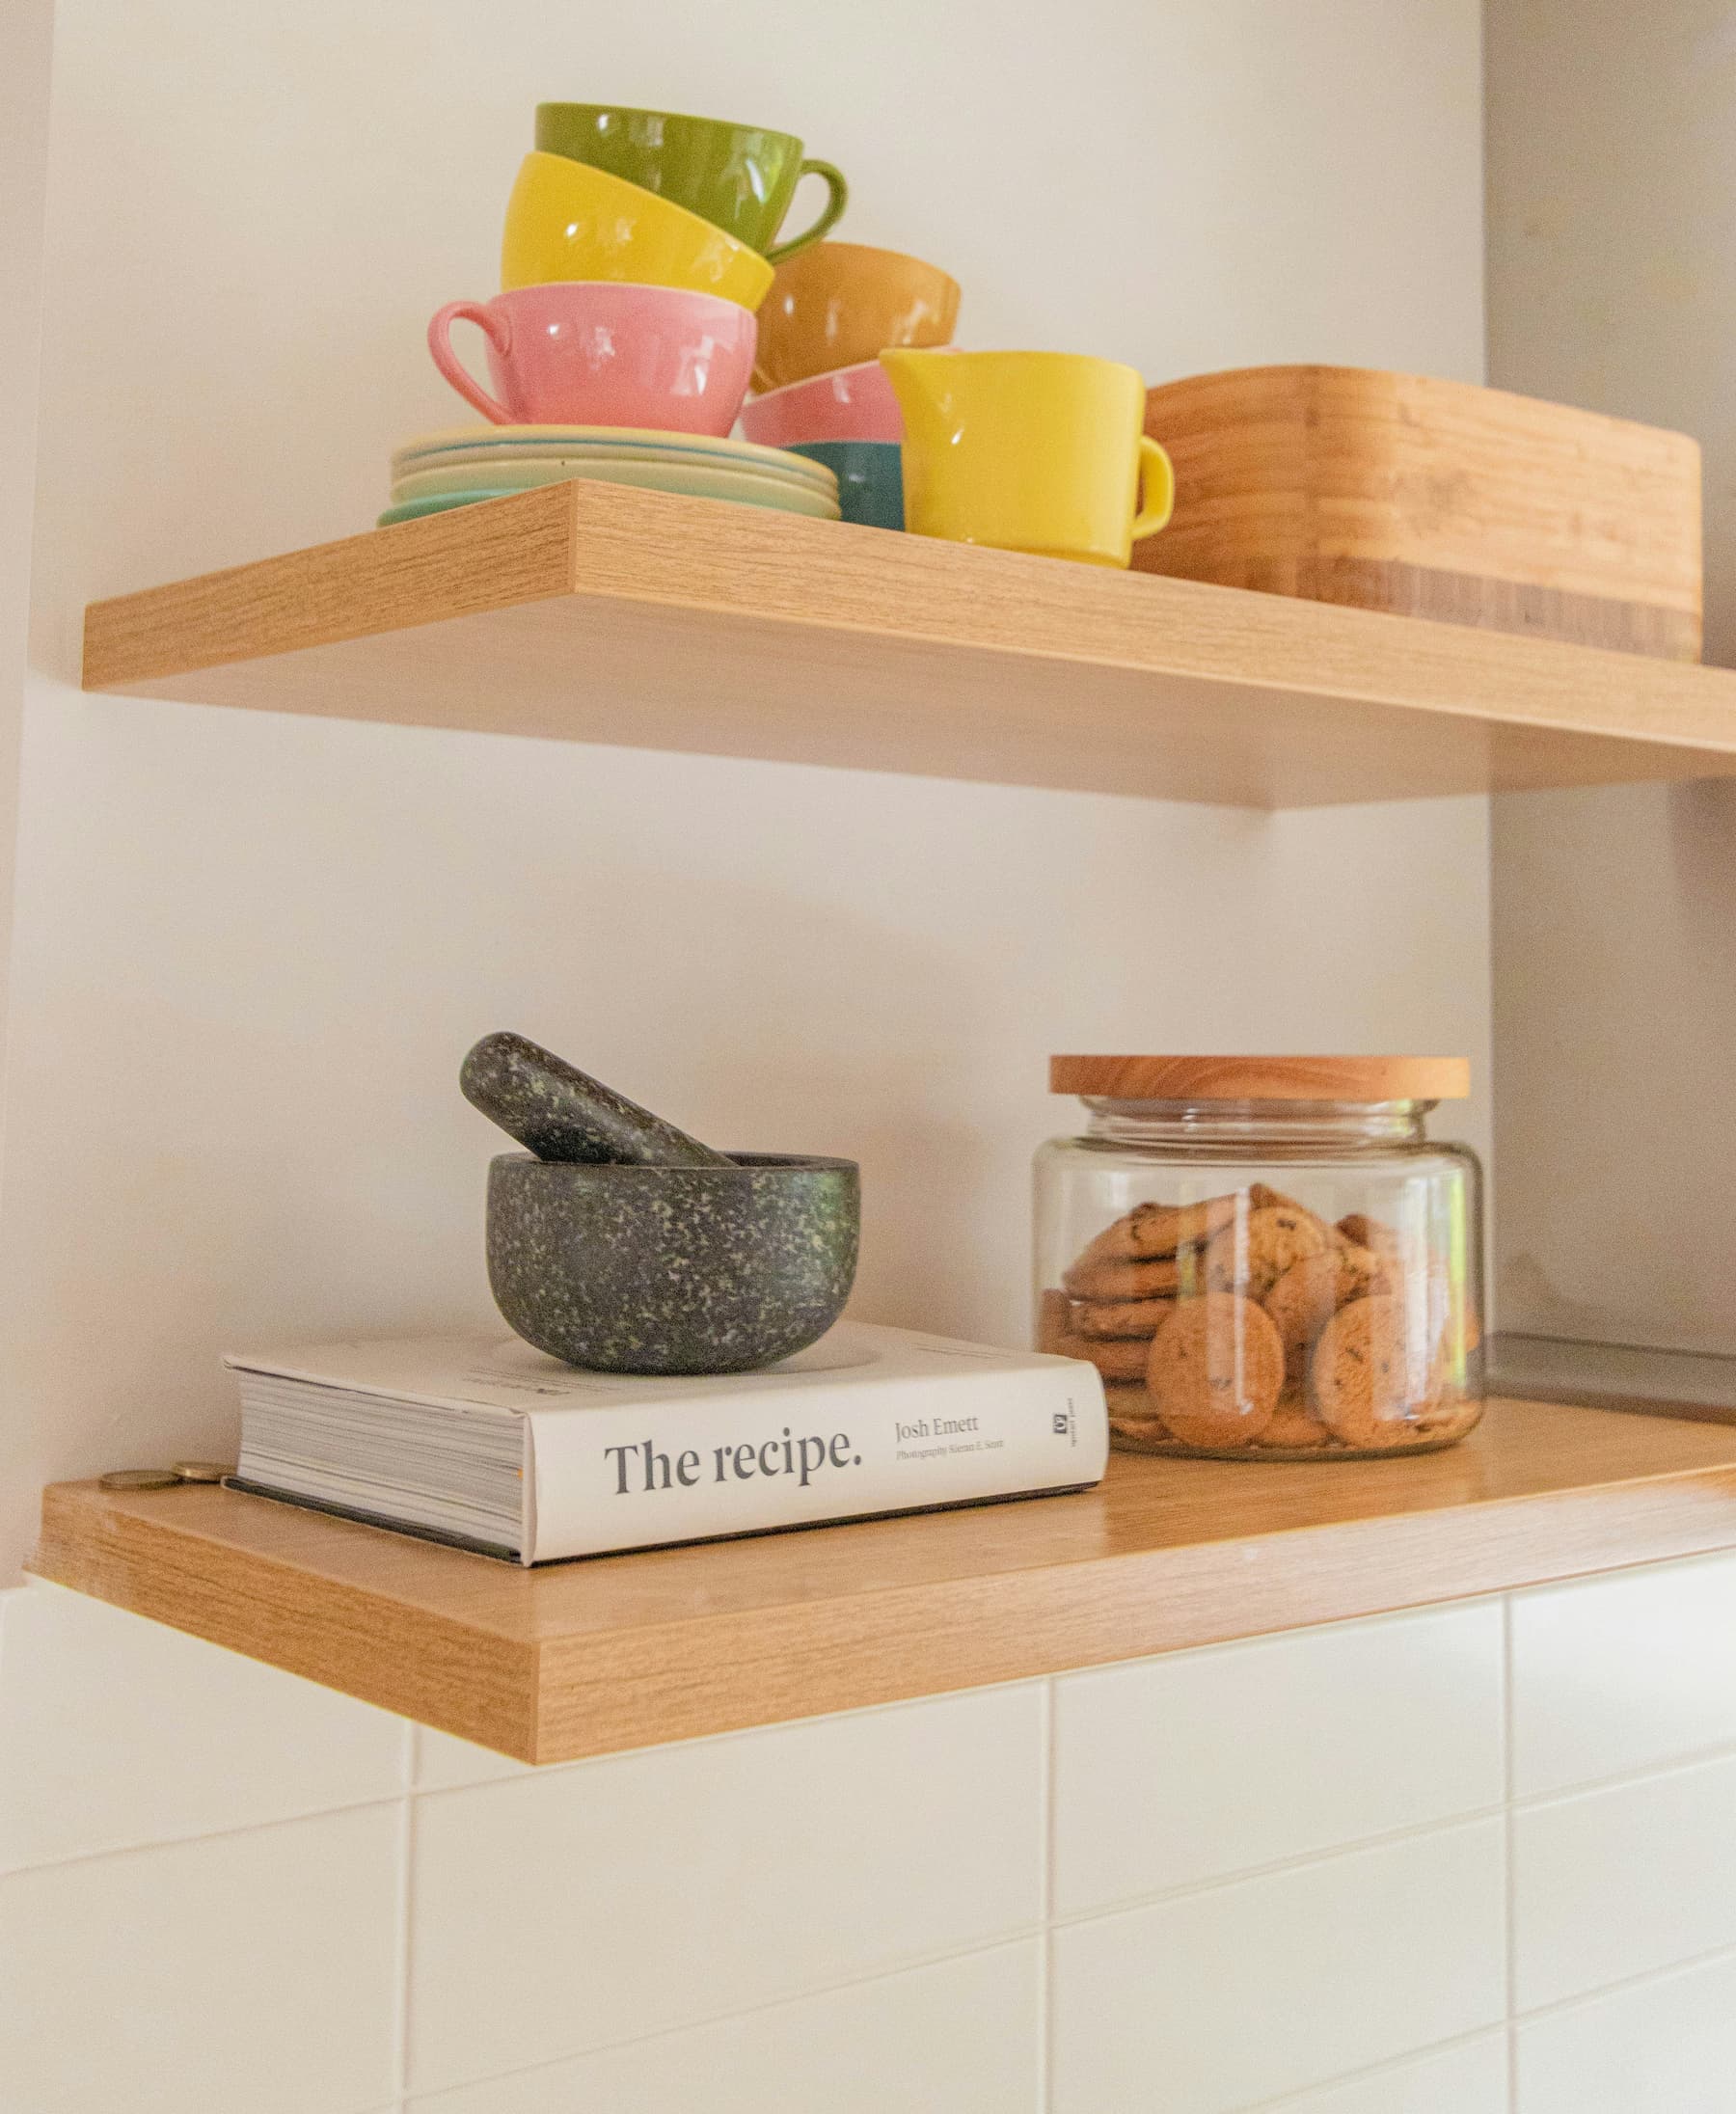
Kitchen shelves need to prioritize items you use constantly. Those beautiful hand-thrown mugs aren’t just for show – you actually drink from them every morning.
Living room shelves can lean more decorative but might also store books, games, or media you actually use.
Bathroom shelving has limited space and needs to house essentials you reach for daily.
Once you’re clear on the primary function, you can design around it instead of fighting against it. The best shelf styling enhances how you live rather than complicating it.
The Foundation: Create Visual Structure
Think of your shelf as a mini landscape with its own horizion line and focal points. Here’s how to establish that structure:
1. The Rule of Three (or Five)
Our brains love odd-numbered groupings. They create natural balance without looking too formal. Try arranging items in groups of three or five:
- Three stacked cookbooks
- Five various-height bottles or containers
- Three plants of different sizes
This creates rhythm and helps move the eye around naturally.
2. Play With Height and Scale
Varying heights creates visual interest and makes the shelving feel intentionally designed rather than randomly assembled. On kitchen shelves, try:
- Tall items (pitchers, vases, utensil holders)
- Medium items (stacked plates, bowls)
- Short items (cups, small plants, decorative objects)
This height variation creates natural breaks and keeps things from looking too regimental.
3. Mind Your Color Story
You don’t need perfectly matching items (honestly, that can look a bit boring), but maintaining some color cohesion helps everything feel pulled together. Some approaches:
- Monochromatic: Different shades and textures of the same basic color
- Complementary: A couple of colors that work well together (think blues and whites)
- Neutral with pops: Mostly neutral items with one or two bright accents
If your stuff is all different colors, try grouping similar colors together rather than spreading them evenly. It’ll look more intentional.
Making It Work: Practicality Without Sacrificing Style
Now comes the tricky part – keeping things functional. Here’s how:
1. Frequency Determines Placement
The golden rule: items you use daily should be easist to reach. In the kitchen:
- Top shelves: rarely-used decorative pieces or occassional-use specialty items
- Eye-level shelves: everyday mugs, glasses, bowls
- Lower shelves: heavier items (appliances, pots, larger serving pieces)
This seems obvious, but I can’t tell you how many beautiful kitchens I’ve seen where the owner needs a stepladder to reach their coffee mugs every morning. Don’t do that to yourself!
2. Create “zones” for similar items
In any space, group items by use:
- Kitchen: baking supplies together, coffee station items together
- Living room: books by genre, games in one section
- Bathroom: skincare together, hair products together
This zoning approach makes items easier to find and gives your eye natural breaks.
3. Embrace Beautiful Containment
Some items just never look good on open shelving (I’m looking at you, miscellaneous power cords). For these necessary but visually chaotic items, invest in:
- Decorative boxes (for remote controls, charging cables)
- Matching jars (for cotton balls, bath salts)
- Beautiful baskets (for rolled towels, toilet paper)
This way the containment itself becomes part of your display while hiding visual clutter.
The Shelfie Secret Sauce: Telling Your Story
The most compelling shelves mix practicality with personality. Here’s how to go beyond just functional:
1. Include Something Natural
Adding a touch of nature brings life to any shelf arrangement:
- Small potted plants or succulents
- A bud vase with seasonal flowers
- Air plants (perfect for bathroom humidity)
- Branches, pinecones, or other natural elements
These organic shapes break up the harder lines of manufactured objects and add a freshness nothing else can match.
2. Layer in the Unexpected
The most intresting shelves include something surprising. In the kitchen, consider:
- A small framed print leaning against the wall
- A tiny sculpture among the practical items
- A vintage object that’s not strictly kitchenware
These unexpected elements create stopping points for the eye and make the arrangement feel curated rather than simply stored.
3. Remember Negative Space
Perhaps the most overlooked aspect of great shelf styling is what’s NOT there. Resist the urge to fill every inch. Empty space creates breathing room and helps highlight your favorite pieces.
If your shelves feel crowded, try removing 20% of the items. You’ll be amazed how much more intentional everything suddenly looks.
Real-Life Shelfie Examples
Let me walk you through some real-life shelf arrangements that nail the function-meets-style balance:
Kitchen Example: My favorite kitchen shelfie combines white everyday plates and bowls (stacked neatly but accessibly), three copper cookware pieces (beautiful but used weekly), a small framed recipe in my grandmother’s handwriting, and two small potted herbs. Everything gets used, but the arrangement also tells a story about my cooking priorities and family history.
Living Room Example: A successful media shelf in my friend’s apartment mixes actual media equipment with decorative elements. The TV sits centered, with cords hidden behind a small plant. Below, baskets hide gaming controllers, while the surounding shelves hold a mix of books arranged by color (and actually read!), family photos, and a few sculptural objects collected during travels.
Bathroom Example: In tight quarters, a bathroom shelf in my sister’s house manages to be both practical and pretty. It includes a wooden tray corraling everyday skincare, a mason jar holding makeup brushes, cotton rounds in a ceramic dish, and a small bud vase that gets refreshed with whatever’s blooming in the yard. Everything’s used daily but looks intentional.
Final Thoughts: Embrace the Evolution
Here’s my last piece of advice: don’t expect perfection on day one. The best shelf arrangements evolve over time as you live with them and adjust based on actual use.
Start with the essentials arranged thoughtfully, then let your shelves evolve as you discover what works. Move things around when they’re not working functionally. Add and subtract as you acquire new pieces or realize certain arrangements aren’t serving you.
And sometimes, just for fun, completely restyle them when you need a change of scenery without redecorating an entire room. Because ultimately, the perfect shelfie isn’t just about how good it looks in a photo—it’s about how well it serves your actual day-to-day living.
I’d love to see your own shelfie triumphs! Tag us in your photos or share your biggest shelf-styling challeneges in the comments below.
Happy styling!
Tom R Chambers is a homewares design enthusiast who believes your space should be both beautiful and livable. This post contains no sponsored content – just real-life experience trying to make open shelving actually work.